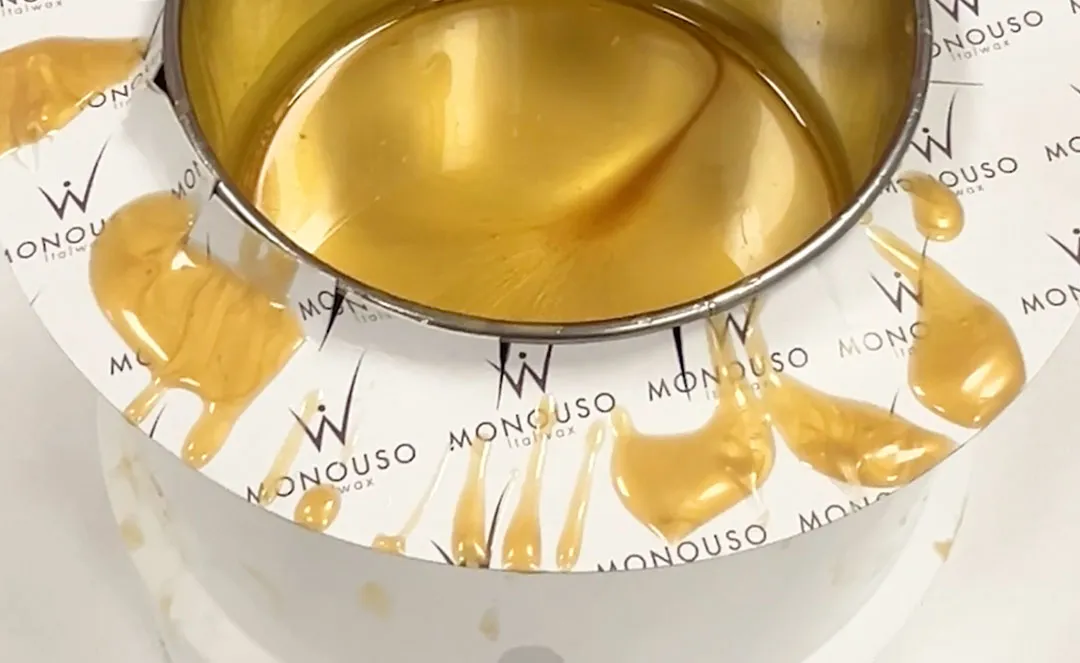
How to Clean a Wax Warmer: Step-by-Step Guide for Perfect Hygiene
Keeping your wax warmer clean is essential for safe, hygienic, and professional waxing—whether you’re working in a salon or doing DIY hair removal at home.
In this quick guide, you’ll learn how to clean a wax warmer efficiently, prevent buildup, and maintain flawless performance after every session.
Why Cleaning Your Wax Warmer Matters
Cleaning your wax warmer isn’t just about appearance. Over time, leftover wax can:
- Harden into crusty residue
- Impair heating performance
- Contaminate fresh wax
- Increase the risk of burns and skin irritation
Regular cleaning ensures better hygiene, consistent results, and extends the life of your device.
What You Need to Clean Your Wax Warmer
Before starting, prepare the right tools:
- Soft cloths or paper towels
- Cotton pads or cotton swabs
- Italwax wax warmer cleaner
- Isopropyl alcohol (at least 70%)
- Heat-resistant gloves
- Wax-saving discs for future maintenance
How to Clean a Wax Warmer: Step-by-Step
1. Turn Off and Unplug the Warmer
First, make sure the device is switched off and unplugged. Let it cool down slightly—warm wax is easier to remove than fully cooled, hardened wax.
2. Remove Excess Wax
Add a few drops of Italwax cleaner directly into the pot. Use paper towels to wipe away the softened wax. Repeat if needed.
3. Wipe with a Soft Cloth
Dampen a cloth or towel with cleaner and gently clean the interior. For tight corners, use cotton swabs or pads to get a detailed clean.
4. Use Oil for Stubborn Spots
If there’s sticky residue left, apply a bit of oil and let it sit for a few minutes. Then wipe it clean.
💡 Tip: Don’t use oil too often—it can leave a greasy film.
5. Sanitize with Isopropyl Alcohol
Wipe all surfaces, including the exterior and lid, with isopropyl alcohol to eliminate bacteria and ensure perfect hygiene.
6. Clean the Lid and Exterior
Use a cloth to clean the outside and the lid, removing any wax splatters or dust. Don’t skip this part—it’s often forgotten!
7. Let It Dry Completely
Before storing or using the device again, let it dry fully. This prevents mold, bad smells, and electrical issues.
Maintenance Tips for Long-Term Use
Maintaining your wax warmer is easier than you think. Follow these expert tips:
✔️ Clean After Every Use
Don’t wait until the wax builds up. A quick clean each time saves effort later.
✔️ Use High-Quality Wax
Cheap waxes leave more residue. Use Italwax premium wax to reduce mess and improve results.
✔️ Avoid Overfilling
Stick to the recommended amount of wax to prevent overflow and excessive mess.
✔️ Store It Properly
Keep your wax warmer in a cool, dry place—far from direct sunlight or moisture.
✔️ Check It Regularly
Inspect for damage or wear. If something seems off, consider upgrading to a professional dual wax warmer—ideal for salon use and heavy-duty routines.
✅ Final Thoughts
Cleaning your wax warmer isn’t just a good habit—In fact, it’s a professional necessity.
Whether you’re a salon expert or an at-home waxer, proper maintenance ensures:
- Safe sessions
- Cleaner results
- A longer-lasting device
By following these steps and using Italwax’s professional cleaning products, you’ll keep your warmer in top condition—session after session.


 English
 Français
 Italiano
 Norsk bokmål
 English (USA)
 Deutsch
 Hrvatski
 Nederlands
